- First, download the Windows OpenVPN GUI 2.3 installer from one of the links below:
Windows Installer (32-bit) openvpn-install-2.3.0-I005-i686.exe Windows Installer (64-bit) openvpn-install-2.3.0-I005-x86_64.exe Run the downloaded installer and follow the setup instructions below:
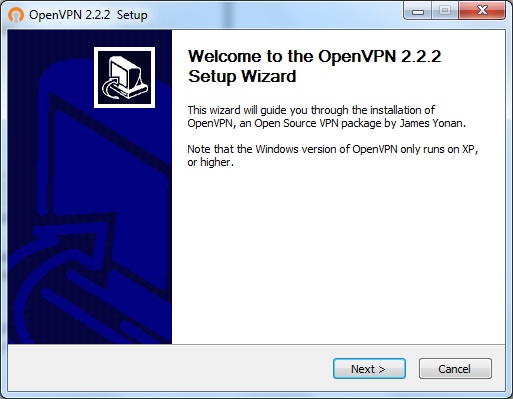
Click the “Next” button.

Click the “I Agree” button.

Click the “Next” button.

Click the “Install” button.
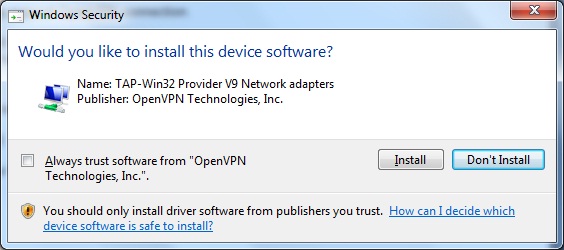
If you have the following message, press “Install”.
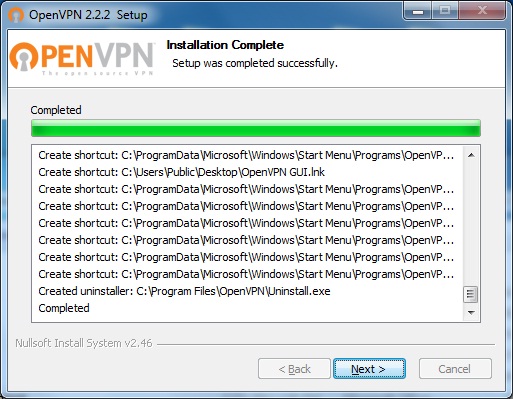
Click the “Next” button.

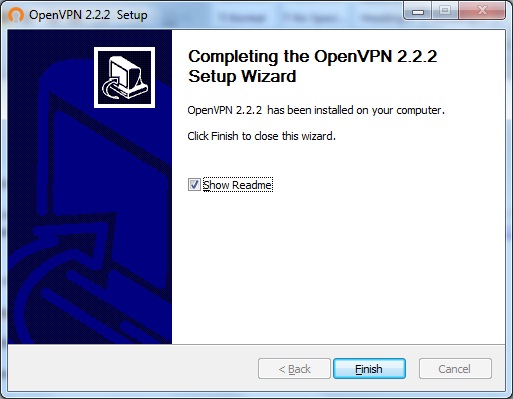
Click the “Finish” button.

NEXT, download and unzip the contents into your OpenVPN install folder’s following path: C:\Program Files\OpenVPN\config. For example, extract all the contents of the zip file into the “C:\Program Files\OpenVPN\config folder”.
If you receive an error about privileges, then move zip archive to C:\ folder, extract and move back to C:\Program Files\OpenVPN\config\ folder.
Now, in the toolbar, you should see a symbol for OpenVPN (two red screens). You should also have an OpenVPN GUI icon on your desktop.Find the OpenVPN GUI icon on your desktop, right-click on it, and choose Properties from the context menu.

Click on Change settings for all users.
In the Properties window, check Run this program as an administrator.
Click OK to close the Properties window.
Click OK to close the OpenVPN GUI Properties window.
How to Connect
- Find the OpenVPN GUI icon on your desktop and double-click it to launch OpenVPN.
- In the taskbar tray, right click on the OpenVPN GUI icon.
- Find the site to connect to from the menu, and choose Connect from the site’s submenu.
- Enter your Login and Password when prompted and click OK.
- The OpenVPN GUI icon in the tray will turn green once the secure connection is established.
